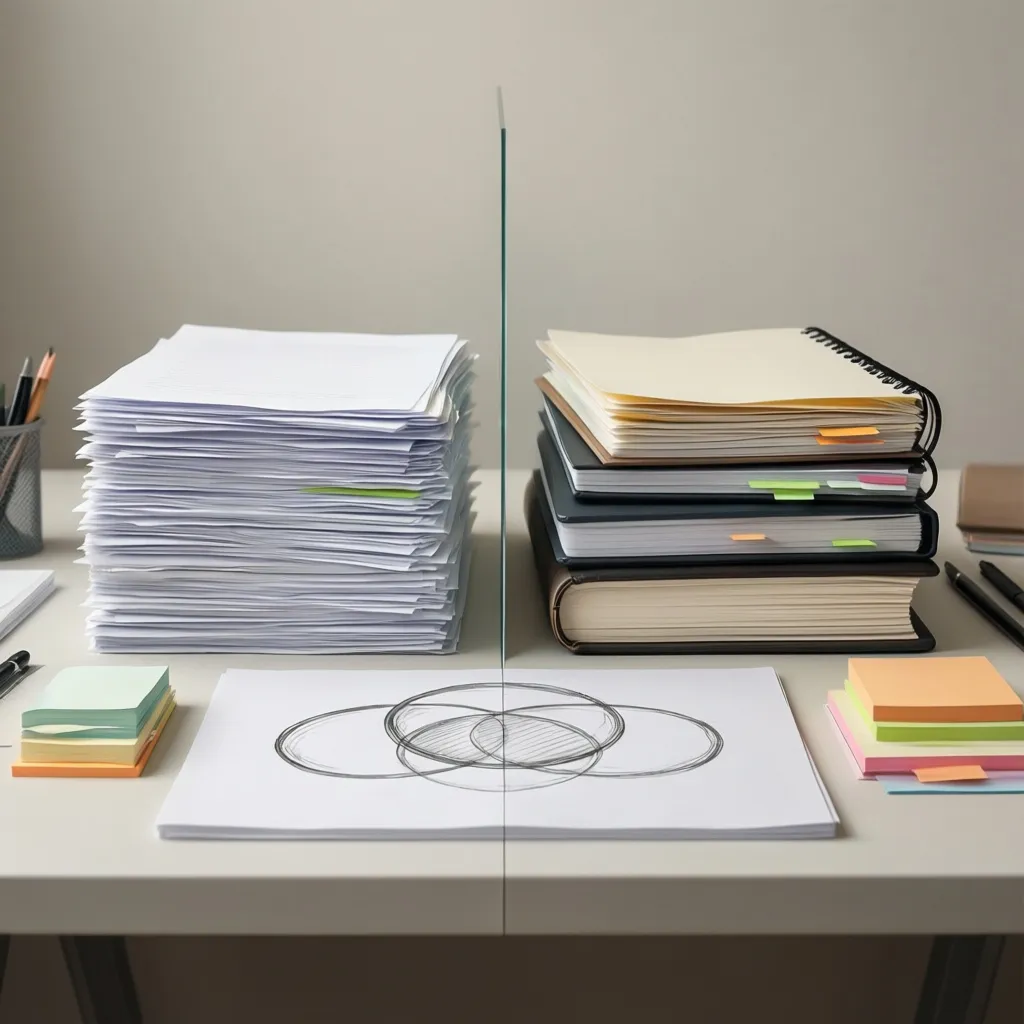
How to Structure a Compare-and-Contrast Essay Beyond the Basics

How to Structure a Compare-and-Contrast Essay Beyond the Basics

Start with your thesis that names the two subjects and states the single key insight you want readers to take away. Then decide between block or point-by-point order based on how much overlap your points have. Most writers get better results when they mix both: open with a short block paragraph on each subject, then switch to point-by-point for the rest of the body.

Build the Body with Clear Moves

Follow these four steps to keep the essay focused and easy to follow.

  1. Write one paragraph that sets the scene for subject A only. Keep it to three or four sentences so it does not drift into comparison yet.
  2. Write the matching paragraph for subject B. Use the same order of details you chose for A so readers can track the contrast without extra work.
  3. Switch to point-by-point paragraphs. Each new paragraph now handles one shared category: cost, time demands, social effects, or whatever fits your thesis.
  4. End every point-by-point paragraph with a one-sentence bridge that reminds readers of your main insight before you move to the next category.

Here is how the pattern looks in practice for an essay on remote work versus office work.

Paragraph focus Content example
Scene for remote Employees set their own hours and avoid a commute.
Scene for office Teams meet face-to-face at fixed times and share the same space.
Point 1: collaboration Remote teams rely on scheduled video calls while office teams solve problems in the moment during hallway talks.
Point 2: focus time Remote workers gain long stretches without interruption, yet office workers often lose that same stretch to drop-in requests.

Check your draft against this short list before you stop revising.

  • Thesis still matches the order you used in the body
  • Each point-by-point paragraph names both subjects in the first sentence
  • Transitions repeat one key word from the thesis instead of generic phrases like “on the other hand”
  • Final body paragraph returns to the insight you stated at the start
Citing Generative AI in Academic Work: Current Rules and Ethical Gray Areas

Citing Generative AI in Academic Work: Current Rules and Ethical Gray Areas

Start by noting the tool, the exact prompt you fed it, and the date. Most departments now treat that record as mandatory when the output influences your claims or wording. Skip the note and you risk an integrity flag during review.

Rules in Practice

APA and MLA both updated their stance last year. You list the model as author, add the version, and treat the conversation as a webpage. Chicago wants a footnote that names the company behind the model.

Situation What to do
You asked ChatGPT-4 for three opening sentences on your topic Add a footnote or parenthetical note with model, date, and prompt summary
Claude rewrote your methods paragraph for clarity Disclose in the acknowledgments and keep the original version in your files
GPT helped only with reference formatting No citation needed, but keep the chat log anyway

Check your department handbook first. Some programs still say “do not cite AI at all” while others demand a full appendix of every prompt.

Try this quick checklist before you submit:

  • Did the AI supply an idea you had not already formed?
  • Did it produce more than a sentence or two of your final text?
  • Would a reader be surprised to learn you used the tool?

If any box is checked, add the citation. When the line feels fuzzy, err on the side of the footnote. Readers can then judge the contribution themselves.

The Last-Minute Essay Survival Guide: Writing Fast Without Falling Apart

The Last-Minute Essay Survival Guide: Writing Fast Without Falling Apart

You have three or four hours left. The goal is to produce something clear and complete, not perfect. Start by reading the prompt once, then write your central claim in one sentence on a blank page. That single sentence becomes the thread you follow through the rest of the work.

Lock in your main point and time blocks

Decide how many words you need and split the remaining time into rough blocks. A 1,200-word essay due in three hours might look like this:

Minutes Task
20 Read prompt and write thesis sentence
30 Build outline with three main points
90 Draft body paragraphs
30 Write intro and conclusion
30 Read through once and fix obvious issues

Build a three-point outline fast

Write your thesis at the top. Under it, list three supporting points that directly back it up. For an essay arguing that social media shortens attention spans, your points could be shortened reading habits in schools, reduced ability to sit with long texts, and data from recent studies on scroll time. Keep each point to a single phrase so you can expand it later without second-guessing.

Write the body first in short passes

Start with your first supporting point. Type one concrete example or piece of evidence, then explain in two or three sentences why it matters. Move to the second point and repeat. Do not stop to fix sentences. If you run out of evidence for one point, drop it and move to the next rather than staring at the screen. Most last-minute essays stay on track when each paragraph stays under 150 words.

Example opening for a body paragraph: “College students now average 4.8 hours daily on social platforms according to 2023 Pew data. That volume leaves less than one hour for assigned reading in many cases. The result shows up in class discussions where students struggle to recall details from chapters they read the night before.”

Run a focused final pass

  • Check that every paragraph ends with a link back to your thesis sentence.
  • Replace any vague phrase with a specific detail you already used in your notes.
  • Read the first and last paragraphs aloud to catch abrupt jumps.
  • Fix only spelling and obvious grammar errors. Leave minor wording issues alone.

Save the file under a clear name and submit. The essay does not need to be your best work. It only needs to be finished and on time.

The Art of Smooth Transitions: Connecting Paragraphs Without Awkward Phrases

The Art of Smooth Transitions: Connecting Paragraphs Without Awkward Phrases

You link paragraphs by carrying one concrete detail forward instead of dropping in a transition word that announces the connection. The next sentence simply continues the thread the reader already holds.

Three moves that work in real drafts

  1. Repeat a noun or short phrase from the previous paragraph’s final sentence.
    Last line of paragraph one: The team tracked response times across three shifts.
    First line of paragraph two: Those response times dropped once the handoff checklist went live.
  2. Pick a time or sequence word that matches the actual order of events rather than a stock connector.
    The generator ran for six hours. After the fuel gauge hit empty, the backup unit started automatically.
  3. Let the subject of the new paragraph act on something mentioned at the end of the old one.
    The survey asked about commute length. Riders who reported trips over forty minutes also noted higher stress scores.

Read the two paragraphs aloud back to back. If the joint still feels abrupt, change the opening noun so it refers directly to the prior sentence’s last idea. Test the revision on the next reader you can find.

Original joint Revised joint
The policy changed last quarter. Furthermore, staff attendance improved. The policy changed last quarter. Attendance records showed the improvement within six weeks.

Beating the Blank Page: Pre-Writing Rituals That Spark Real Ideas

Beating the Blank Page: Pre-Writing Rituals That Spark Real Ideas

You open the doc and nothing comes. These three pre-writing rituals get most writers past that first empty stretch in under fifteen minutes.

Move before you type

Five to ten minutes of walking or stretching shifts your brain out of the staring loop. Do it without your phone.

  1. Stand up and leave the desk.
  2. Walk around the block or pace the hallway.
  3. Notice three specific things you see or hear.
  4. Return and open the document again.

Most people find the first workable sentence arrives during the walk back.

Touch one familiar object

Pick one item that already lives on your desk and give it your full attention for thirty seconds. A mug, a stone, or even the edge of the laptop works.

Object What you notice How it helps
Coffee mug Warmth and handle texture Pulls you into the present moment
Small stone Weight and cool surface Creates a quick sensory reset
Pen Click or grip Signals that writing is next

Record one spoken sentence

Open your phone’s voice memo app and say the first thought that arrives, no matter how rough. Play it back once.

  • “This piece needs to explain why the old process stopped working.”
  • “I’m stuck because I don’t know who the reader is yet.”
  • “The client wants data but stories will land better.”

Transcribe that sentence into the document. It becomes the first line you edit instead of the first line you invent.

Smart Source Evaluation: How to Spot CRAAP and Avoid Bad Citations

Smart Source Evaluation: How to Spot CRAAP and Avoid Bad Citations

You open a search result and need to decide fast whether it belongs in your project. Run the CRAAP test on every source before you pull a quote or add it to your reference list.

Run the CRAAP Test in Five Steps

  1. Currency: Check the publication or update date. A 2014 article on TikTok algorithms fails here when your paper covers 2023 platform changes.
  2. Relevance: Read the abstract or first two paragraphs. Does the main claim actually match your research angle, or did the title pull you in under false pretenses?
  3. Authority: Look for the author’s name, credentials, and affiliation. A Medium post by an unnamed “researcher” carries less weight than a paper from a named professor at a known university.
  4. Accuracy: Scan for citations or data sources inside the piece. If claims sit without links or references, open a second tab and verify one key fact.
  5. Purpose: Ask why the page exists. A .com site selling supplements that also posts “studies” on vitamins usually has a sales goal first.

Check Citations with a Quick Table

Source type Red flag Next move
Blog post No date or author Search the claim on Google Scholar
News article Only one anonymous source Find the original study it cites
Website Statistics without links Trace the number to its origin report

Keep a short checklist on your screen while you draft: date present, author named, main claim supported, and purpose matches my needs. When any box stays empty, skip the citation and move to the next result.

Building a Student Routine That Protects Your Grades and Your Mental Health

Building a Student Routine That Protects Your Grades and Your Mental Health

Start by locking in consistent sleep and two fixed study blocks each weekday. This base keeps most students from falling behind while leaving room for rest.

Pick a bedtime you can hit six nights out of seven. Set an alarm for the same time every morning, even on lighter days. When sleep stays steady, focus improves and small mistakes drop.

Build your day in blocks

Divide study time into 50-minute sessions followed by a 10-minute break. Use the break for water, a stretch, or stepping outside.

  1. Choose two subjects that need the most attention that week. Put the harder one first.
  2. Block the first session right after your morning class or coffee. Block the second between 4 and 6 p.m.
  3. Track completion on a simple list: finished, partial, or skipped. Review the list every Sunday night for five minutes.

Here is one workable weekday example:

Time Activity
7:00 a.m. Wake, quick breakfast, 10-minute walk
9:00-9:50 a.m. Study block one (math notes and problems)
10:00 a.m. Class or review
4:00-4:50 p.m. Study block two (reading or lab prep)
5:00 p.m. Meal and 30-minute no-screen break
10:30 p.m. Wind down and lights out

Keep one evening free of new work. Use it for laundry, a call home, or an early night if you are tired. Students who protect one unscheduled night report fewer panic nights before tests.

Check your energy each Friday. If a block keeps getting skipped, move it to a different hour rather than adding more time. Small shifts beat big overhauls.

All-Nighters vs. Sleep: What the Science Says About Retention and Burnout

All-Nighters vs. Sleep: What the Science Says About Retention and Burnout

Sleep wins for retention. An all-nighter can get the work done tonight, yet you will remember less tomorrow and feel drained for days. The difference shows up fast in real study sessions.

How Sleep Helps Retention

Your brain sorts and stores new material during deep sleep. When you study for three hours then sleep six or seven, the details stick better than when you push through the night.

  • Names and formulas from an evening review session come back quicker after rest.
  • People who sleep after learning a new process solve related problems faster the next day.
  • Short naps of 90 minutes also move some information into longer-term memory.

What an All-Nighter Does to Retention

Staying awake 24 hours cuts your ability to recall facts and steps. The drop hits hardest on material you just covered.

Scenario Next-day result
Studied until 2 a.m., slept Remembered most key points on a quiz
Pulled all-nighter Missed details, mixed up order of steps

The pattern repeats in exam weeks. Students who skip sleep re-read the same notes multiple times because the first pass did not stick.

How Burnout Shows Up After All-Nighters

Burnout arrives when you repeat late nights over several days. Focus shrinks, small tasks feel heavy, and mood drops.

  • By day three you stare at the screen longer but finish less.
  • Simple decisions take extra time and you second-guess them.
  • Physical signs include headaches in the afternoon and trouble falling asleep even when you try.

Steps to Finish Work Without the Tradeoff

  1. Pick a hard stop time, such as midnight, and move the remaining tasks to the next morning.
  2. Break the session into 50-minute blocks with a 10-minute break; end the last block earlier than usual.
  3. Review the main points once right before bed instead of re-reading everything.
  4. Keep the room cool and phone away so sleep starts within 20 minutes of lying down.

Editing Your Own Draft: A Step-by-Step Method for Catching Hidden Mistakes

Editing Your Own Draft: A Step-by-Step Method for Catching Hidden Mistakes

You catch more errors when the draft sits for at least a few hours. Come back to it when the sentences no longer feel fresh in your head.

Prepare Before You Start

Open the file and make two quick changes so the text looks different to your eye.

  • Switch the font to something you rarely use, like Georgia if you wrote in Arial.
  • Print the pages if you normally edit on screen. Hold a pen while you read.

Work Through These Checks in Order

  1. Read the whole draft out loud at normal speed. Circle every place you pause or have to reread.
  2. Go back to each circled spot and ask what the sentence actually says. Cut or reword anything that wanders, such as a sales paragraph that suddenly lists meeting times with no link.
  3. Check paragraph breaks. If one block holds two separate ideas, split it. For example, separate “We hit the revenue target” from the next thought about hiring plans.
  4. Scan for repeated words or phrases on the same page. Replace the second one with a plain alternative if it still fits.
  5. Read the first and last sentence of each section. Make sure they connect without extra explanation.
Quick Check Before After
Transition Revenue grew. We added two reps. Revenue grew because we added two reps.
Drift The campaign worked. Also, the coffee machine broke. The campaign worked. We later fixed the coffee machine in a separate ticket.

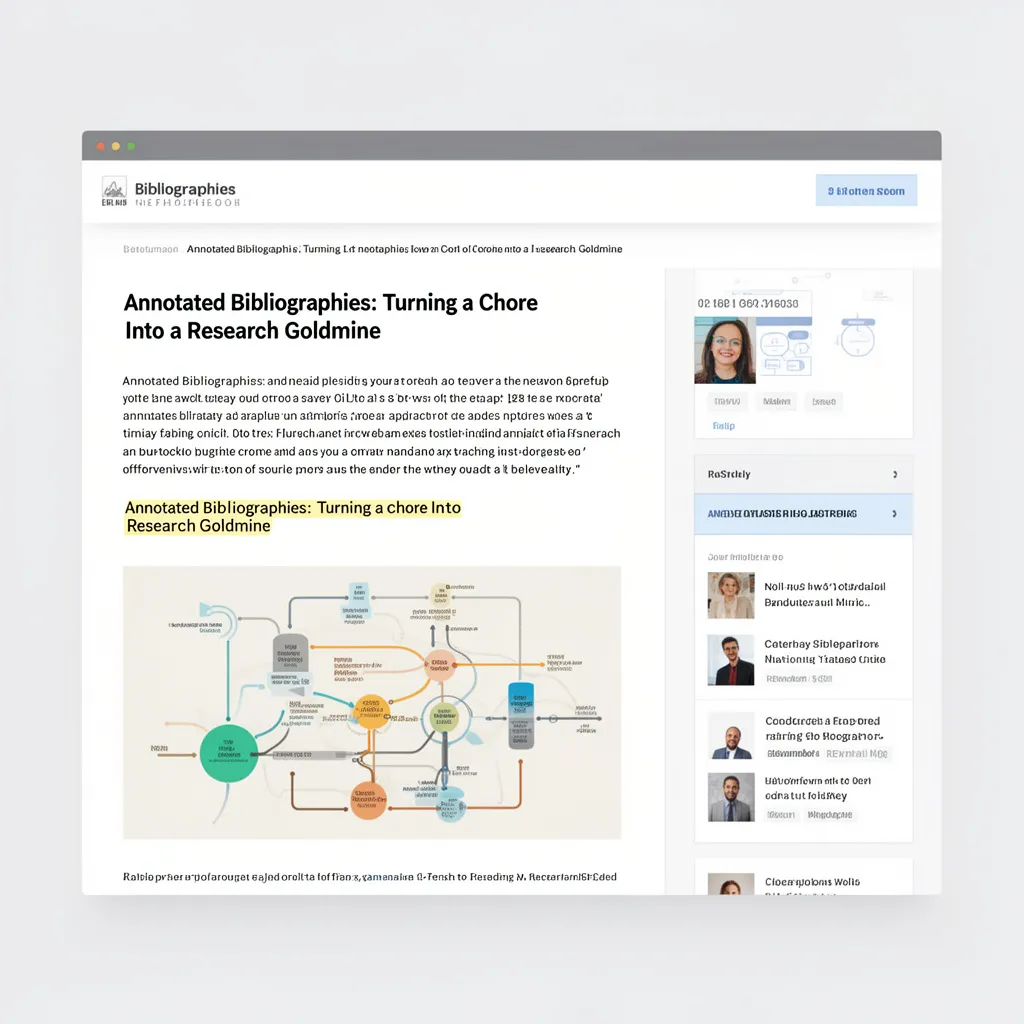
Annotated Bibliographies: Turning a Chore Into a Research Goldmine

Annotated Bibliographies: Turning a Chore Into a Research Goldmine

An annotated bibliography does more than list sources. It forces you to record what each source actually says and how you plan to use it, which cuts down on rereading later when you draft.

Start with the sources you already pulled for your current project. Pick five to start. The goal is a short note for each that you can scan in under two minutes next week.

Build the list in four passes

  1. Write the full citation in the style your field uses.
  2. Summarize the main claim in one sentence using the author’s own terms.
  3. Note the method or evidence type in a second sentence.
  4. Add one line on how this piece connects to your question or to another source you have.

Keep each annotation under 120 words. Longer notes become hard to scan.

Element Example (remote-work study)
Citation Smith, J. (2022). Remote teams and output. Journal of Work Research, 14(3), 45-67.
Summary Smith tracked 180 employees across six companies and found that output stayed flat when meetings dropped below four per week.
Method Used weekly self-reports and server log data over three months.
Use note I can cite this to counter the claim that all remote work lowers productivity; it also pairs with the 2023 Lee study on meeting load.

Review your finished list with this quick check:

  • Can I find the right source without rereading the full text?
  • Does each note show a clear link to my research question?
  • Are the connections between sources visible?

When you hit that point the bibliography stops feeling like extra work and starts acting as your working outline.